Creating a product
This guide provides a step-by-step process on how to add products and categories to your storefront using the TakeApp platform.
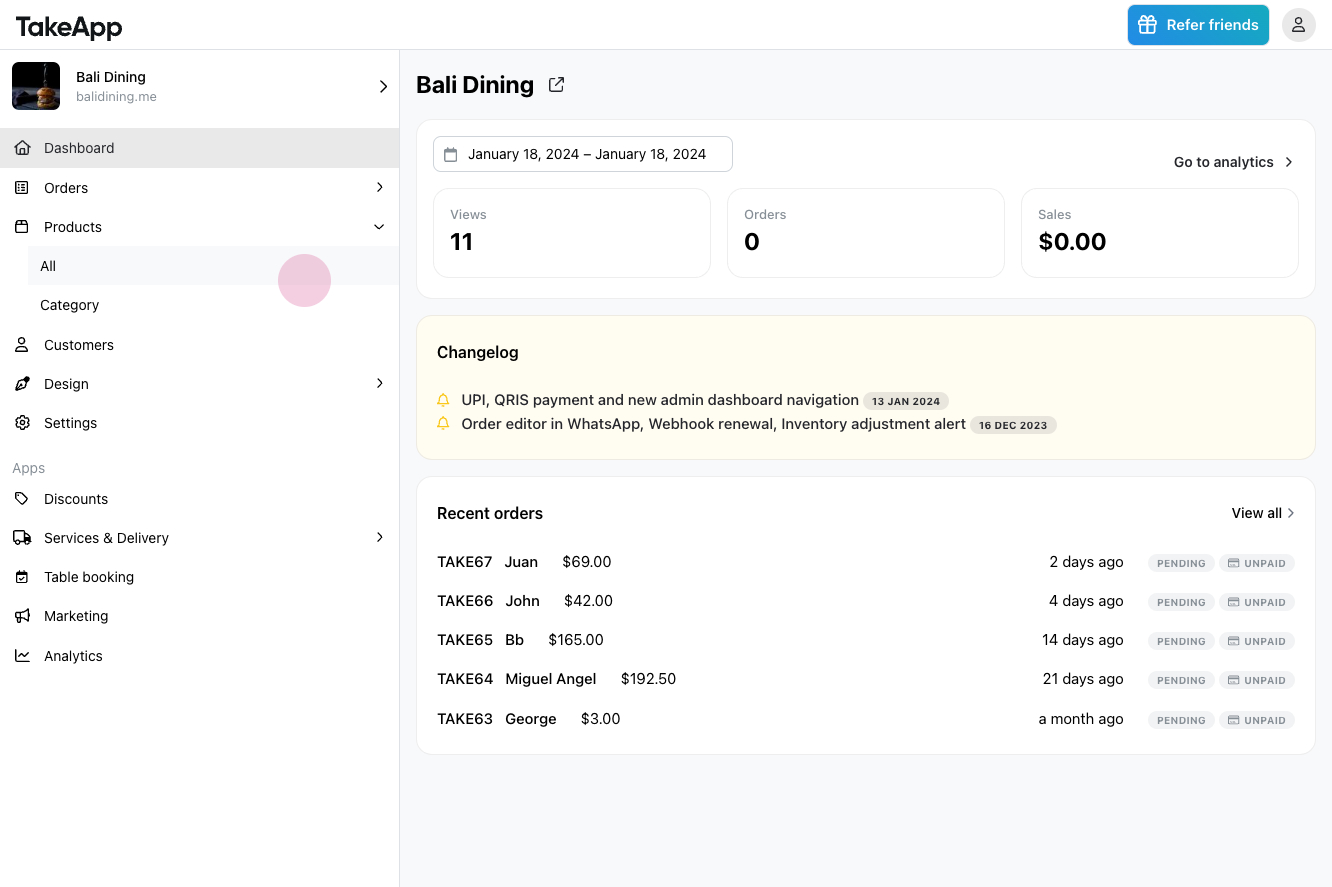
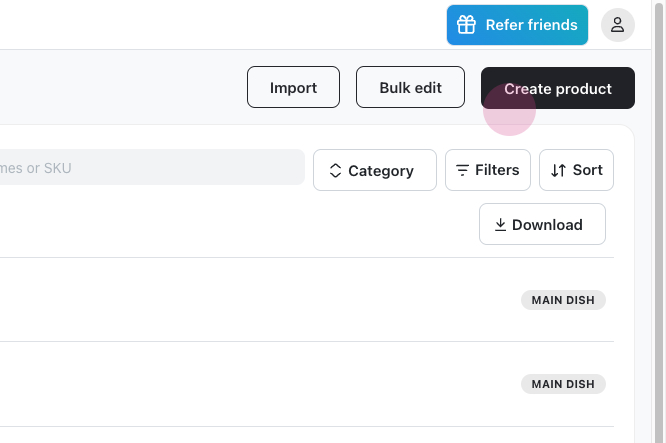
Step 1: Begin by accessing the admin dashboard. Within this dashboard, navigate to the products section and then select 'All'. There, you can click on 'Create Product'.
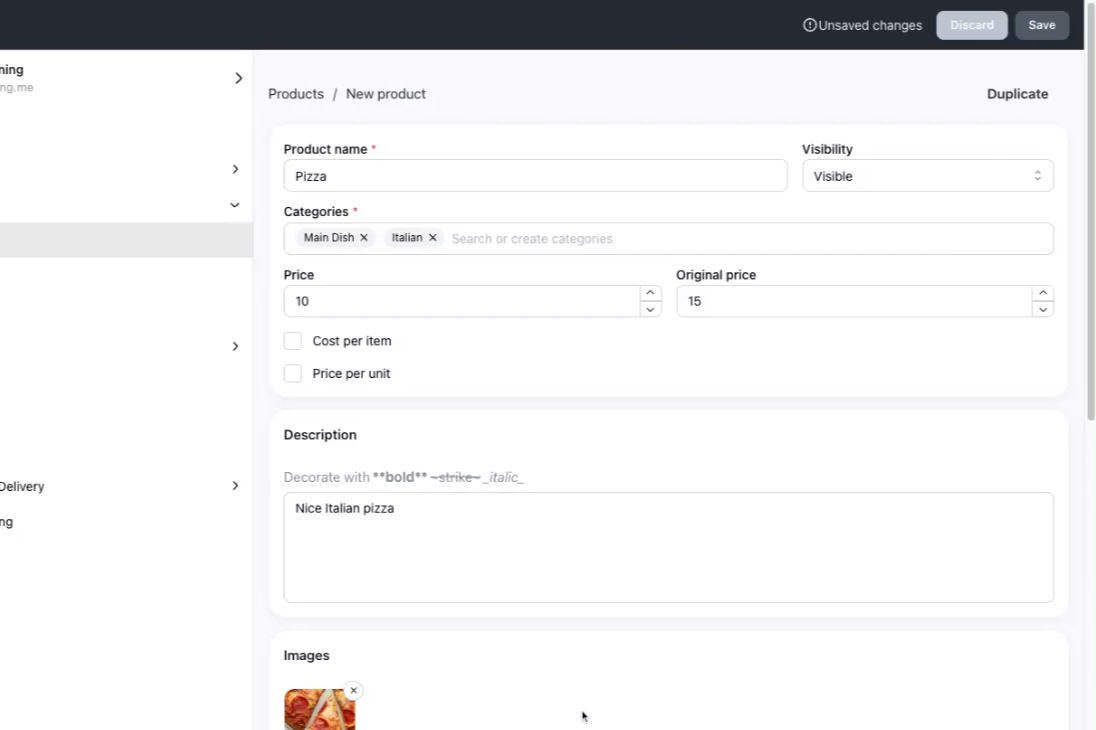
Step 2: You are now on the product details page. The first step is to add a product name. For our example, we will use "Pizza".
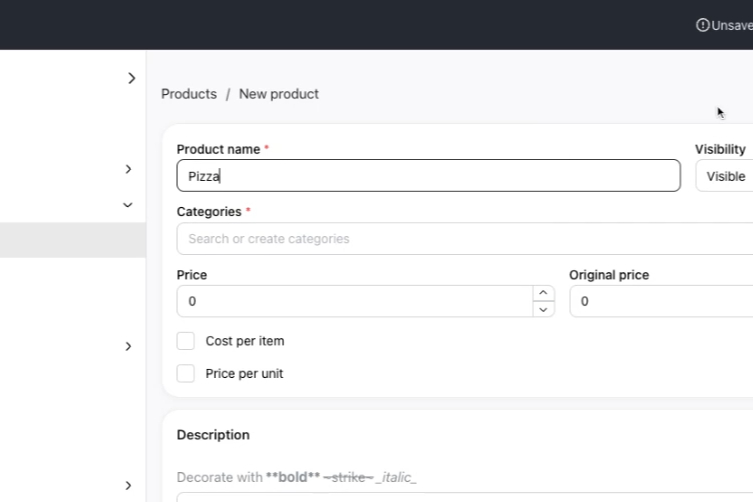
Step 3: Next, adjust the visibility settings. These settings allow you to control whether the product is hidden or visible to your customers.

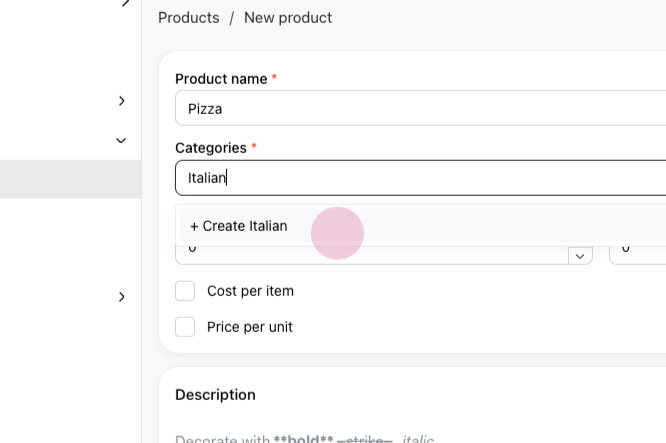
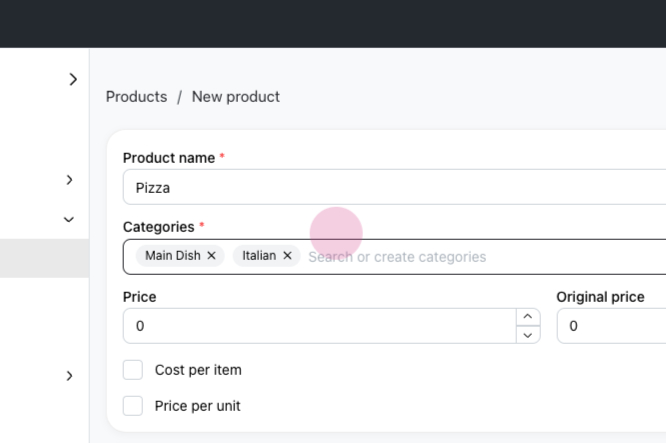
Step 4: Every product must be assigned to at least one category.
Here, you can select an existing category, or create a new one. We'll add a new category, "Italian". After clicking 'Create Italian', choose this category for the Pizza product.
The product can also be added to another category if needed. In this case, the Pizza product will be added to both the "Main Dish" and "Italian" categories.
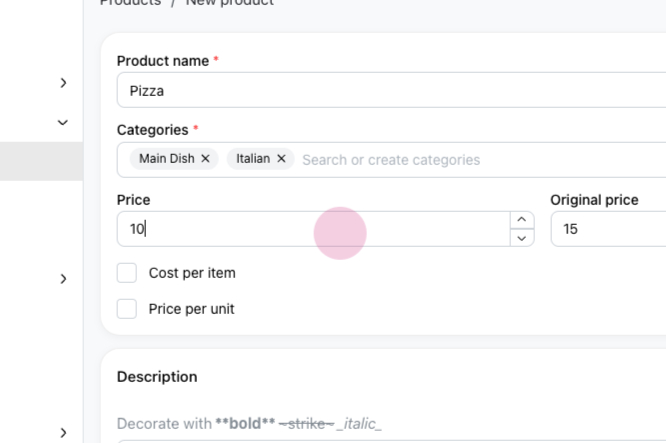
Step 5: The next step is to set the product price. Here, you can set an 'original' price and a 'discounted' price. For example, we'll set the original price as $15 and the current price as $10.
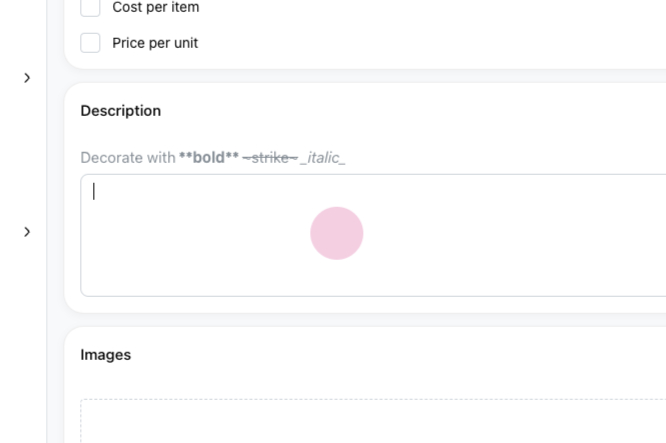
Step 6: Next, add a description for your product. For this example, our description is "Nice Italian pizza."
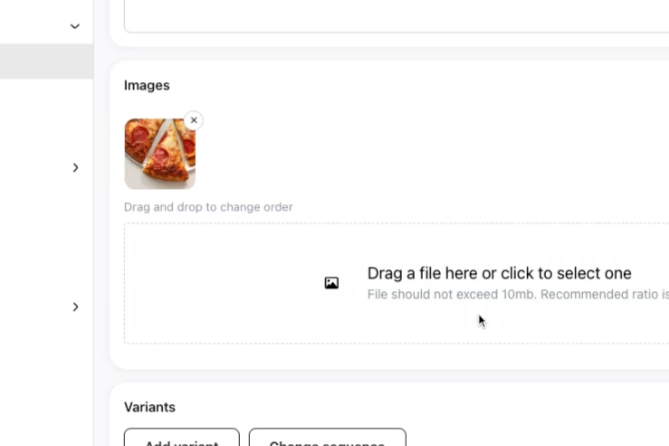
Step 7: Finally, you can add images for your product. Multiple images can be added - simply drag and drop them into the allocated area.
Once all fields are filled out, click 'Save' on top corner to save your product.
With these steps completed, your Pizza product—categorized under "Main Dish" and "Italian"—is now created on your storefront.
Step 1: Begin by accessing the admin dashboard. Within this dashboard, navigate to the products section and then select 'All'. There, you can click on 'Create Product'.
Step 2: You are now on the product details page. The first step is to add a product name. For our example, we will use "Pizza".
Step 3: Next, adjust the visibility settings. These settings allow you to control whether the product is hidden or visible to your customers.
Step 4: Every product must be assigned to at least one category.
Here, you can select an existing category, or create a new one. We'll add a new category, "Italian". After clicking 'Create Italian', choose this category for the Pizza product.
The product can also be added to another category if needed. In this case, the Pizza product will be added to both the "Main Dish" and "Italian" categories.
Step 5: The next step is to set the product price. Here, you can set an 'original' price and a 'discounted' price. For example, we'll set the original price as $15 and the current price as $10.
Step 6: Next, add a description for your product. For this example, our description is "Nice Italian pizza."
Step 7: Finally, you can add images for your product. Multiple images can be added - simply drag and drop them into the allocated area.
Once all fields are filled out, click 'Save' on top corner to save your product.
With these steps completed, your Pizza product—categorized under "Main Dish" and "Italian"—is now created on your storefront.
Updated on: 19/01/2024
Thank you!